Because we do custom work, I explain the casting process all the time. The whole thing from front start to finish is very interesting. However, It is a long procedure with a lot of down time between steps, so it is something the customer can not just stick around to watch. Multiple pieces can be cast at the same time. But for this demonstration, we are doing one.

THE WAX
Most jewelry starts here. Pieces that are mass produced or duplicated usually starts with a carved wax, even though there are situations where you might make the original directly in metal by fabrication. We still hand carve most of our waxes but for some intricate pieces we have CAD (computer aided design) produce a wax. Shown here is a 4mm wide knife edge band with a carved head for a modified radiant cut diamond.

WAX ON RUBBER BASE
After the wax has been carved and approved by the customer and any modifications have been made, a wax sprue is attached to the model and it is attached to a rubber base.

METAL CYLINDER
A metal cylinder, corresponding in size to the base, is added. By formula, a specific amount of water and investment (a special, fine plaster) is mixed then vacuumed in a chamber to remove bubbles.

POURING IN THE INVESTMENT
We then pour the plaster into the cylinder and repeat debubbleizing in the vacuum chamber.

Shown here is our vacuum chamber.
The air is removed from the bell jar, removing any bubbles trapped in the plaster or attached to the wax. The cylinder is topped off with the remaining plaster.
The cylinder rests for an hour for the plaster to harden. Then we remove the rubber base to expose the end of the sprue and it is placed in the kiln, sprue side down.

OUR CASTING ROOM
We have a computer controlled kiln that we programmed to come on at midnight and slowly takes the oven up to 1350 degrees in ramped stages and brings it back down to about 900 degrees (cylinder casting temperature) at the time we arrive the next morning. What happened over night was, as the kiln temperature raised, the wax melted out, leaving a cavity of exactly what we carved.
We basically pour the molten metal into the cylinder down through the sprue into the cavity of the mold. Actually, we force it in with a centrifuge. But you get the idea. Some people use a vacuum to assist in getting the molten metal in the mold.
The plaster is broken away and the what remains is the rough casting ring with its button. To cast the 7 gram ring, we used about 21 grams of metal. The extra metal helps push the metal into the mold and is needed. The sprue button can be used in the next casting, so it is not waste.


Shown here is ring with the sprue cut off. The shank has been burnished, sanded and is ready for stone setting and then polishing. At this point the ring the ring is a one- of-a-kind. To make it again I would have to carve a new wax. A second option is to make a rubber mold of this original. The rubber mold can be injected with a molten wax injector to make additional waxes for additional casting.


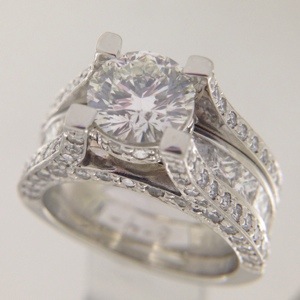
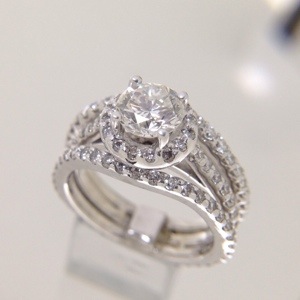
The finished engagement ring.


